WordPress allows for a number of customizations to the navigation menu. One great customization you can make is adding a specific post to the navigation menu. In this article we will be showing you how to add posts to menus in WordPress.
Add Posts to Menus in WordPress
Most commonly a navigation menu is used to display your website’s categories or pages (about, blog, etc.).
However, that being said, you may still want to add a specific post to the navigation menu in WordPress.
TEXT AD1The biggest benefit of this is that your readers can quickly access this post, which can be beneficial if the post is designed to lead to product sales.
Here’s how you can add posts to menus in WordPress:
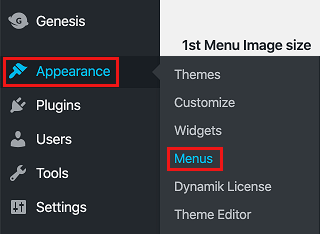
1. Click on Appearance > Menus from the left sidebar menu
2. Click on the Screen Options dropdown, located near the top right corner and select the Posts option, in case it is not already checked.

3. Click on the Posts tab, located on the left-hand side.
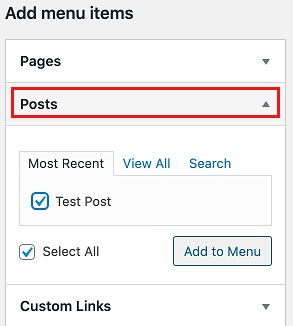
4. Select the posts you want to add to the navigation menu and then click on the Add to Menu button.
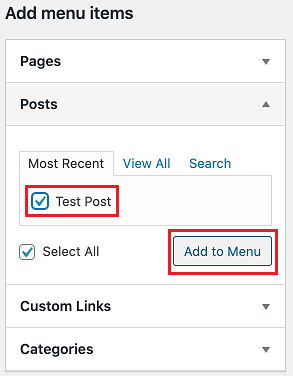
5. Click on the Save Menu button to save your changes.
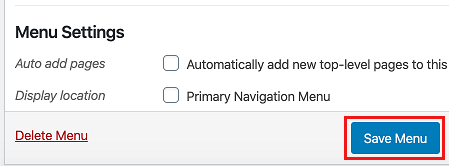
The posts will be added to your menu. If you would like to change the order the menu items appear in, simply drag and drop menu items to your preferred order.
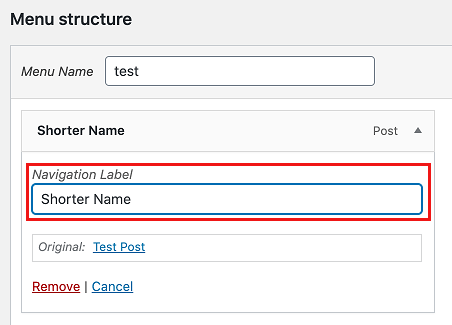
Additionally, since posts usually tend to have long titles, you may want to change the name of the menu item to display something shorter.
Simply click on the post menu item and enter in a different name (See image below).
That’s it for this article! We hope this article helped you out.