Are you looking to test out the WordPress platform before buying a domain name and hosting plan? In this article, we will be showing you how to easily install WordPress locally on Mac so that you can develop your website and test the WordPress platform free of cost.
Should you Install WordPress Locally?
If you are still on the edge of deciding whether you should install WordPress locally or not, here are the primary benefits and disadvantages.
Benefits
TEXT AD1- Can test out the WordPress platform free of cost (great for novice WordPress users).
- Can design and develop your website free of cost
Disadvantages
- Only you can visit your website (all of your website’s files will be stored locally on your computer). Once you have finished designing your website, you will need to transfer it to a live server for others to be able to visit it. Don’t worry the process of transferring your website is not that difficult.
Install WordPress Locally on Mac
Now that you know the advantages and disadvantages of installing WordPress locally, here is the step-by-step guide to install WordPress locally on your Mac.
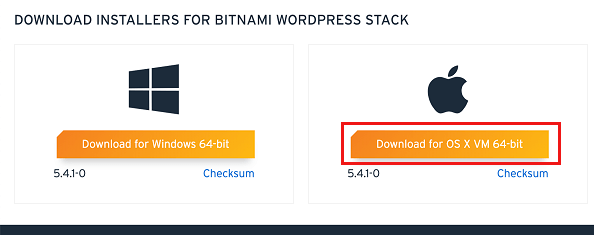
1. Visit the Bitnami website, scroll down and click on the Download for OS X button.
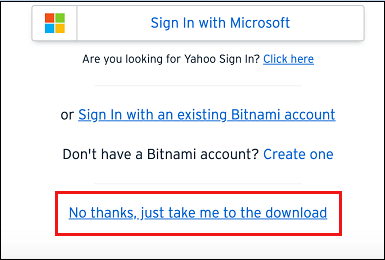
2. From the pop-up, click on No thanks, just take me to the download
3. After the download finishes, click on the download in the browser to open it
4. Drag WordPress to the Applications folder and then click on Authenticate from the pop-up
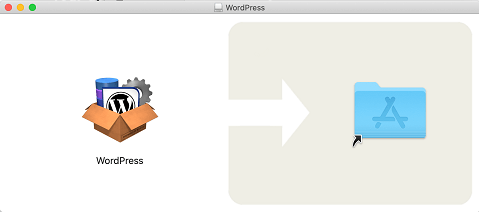
WordPress will now begin installing on your computer.
6. Once the installation finishes, open Launchpad and then click on the WordPress application
7. From the warning pop-up, click on Open
TEXT AD28. Now make sure you are on the General tab and click on the Start button. Wait for around 60 seconds for the app to setup your WordPress website.
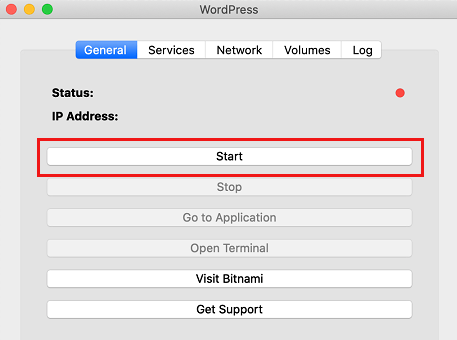
After around 60 seconds (could take longer or shorter) you will see the screen change and display a green status to indicate that your WordPress website has been setup.
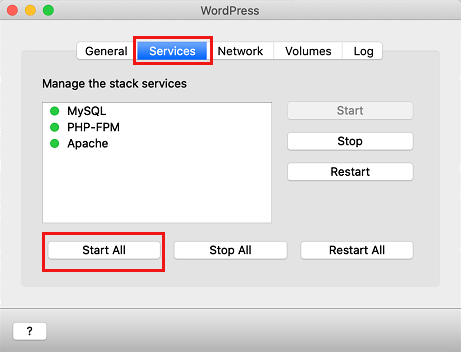
9. Once you see the green status, click on the Services tab and make sure all three services are green. If they are not, click on the Start All button.
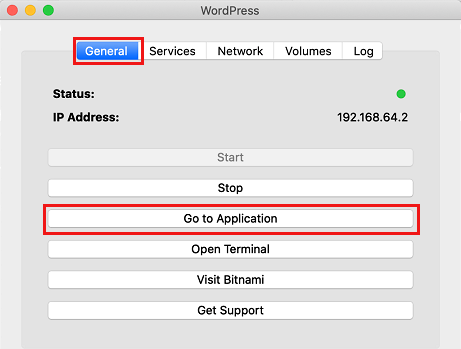
10. Now go back to the General tab and click on Go to Application and your local WordPress website will open in a browser.
Click on the Manage option in the bottom right corner and you will land on a page, which displays your WordPress username and password.
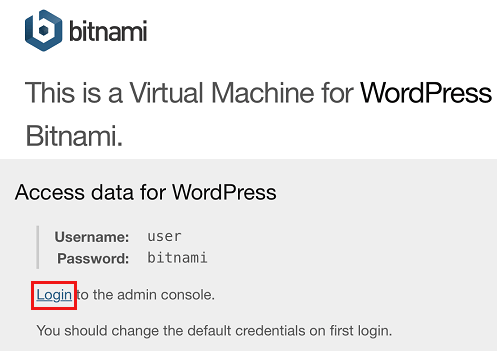
The WordPress username and password will be set to user and bitnami by default and you will need to change these.
Click on the Login link and then enter in the default WordPress username and password to login to your WordPress site!
The WordPress installation process is now complete; however you may want to take a look at some of the helpful tips below.
Change Login Password
If you want to change the default WordPress password to something more secure, here is exactly how:
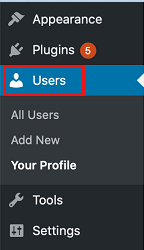
1. In WordPress, click on Users from the left sidebar menu.
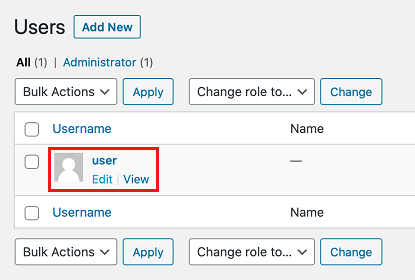
2. Click on user (See image below)
3. Scroll down and click on the Generate password button
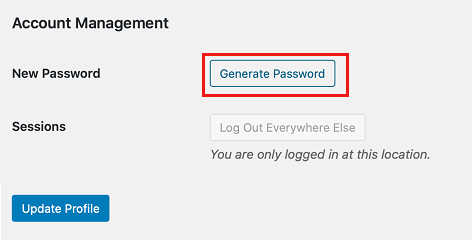
4. To set the WordPress generated password as your password, simply click on Update Profile.
If you want to enter in your own custom password, click on the password textbox and enter in your own password.
Shortcut to Login to WordPress
You don’t need to click on the login link every time you want to login to WordPress.
You can simply enter in /login after the IP address.
Closing the WordPress application
When you try to close the WordPress application, you will see the screen in the image below, which may make you wonder if you can close the WordPress application at all.
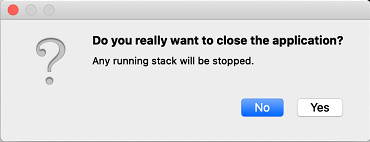
Whenever you want to work on your website or visit it, you need to have the WordPress application open on your computer.
However, when you are not working on your WordPress website, you can click on Yes from the pop-up to close the application.
You will need to follow steps 8-10 again in order to be able to visit your website and make any changes.