A great way for you to test out the WordPress platform free of cost is by installing WordPress locally on your computer. This article will show you step-by-step exactly how to install WordPress locally on your Windows 10 computer.
How do Local WordPress Installations Work?
Before we proceed with the rest of the article it is important for you to understand that when you install WordPress locally on your computer, only you can visit your website.
The reason only you can access the website is because when a WordPress website is installed locally on a computer, all the files related to the website are stored locally on that computer too.
TEXT AD1Now you may wonder what’s even the point of installing WordPress locally on your computer, if no one else can visit the website?
Well, the biggest advantage is that you can design and develop your website and also get used to the WordPress platform free of cost.
Once you have designed your website to your preference, you can then transfer over your website from your local computer to a live server, so that other people can also visit your website.
Install WordPress Locally on Windows 10 Computer
So now that you have a basic understanding of how local WordPress installations work, here is how to install WordPress locally on your Windows 10 computer.
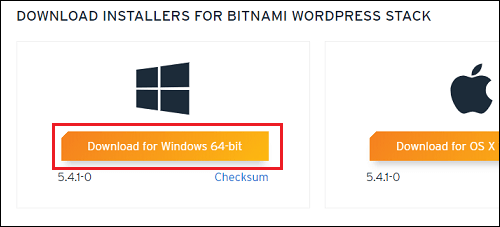
1. Visit the Bitnami website and Download Bitnami WordPress
In a web browser, visit the Bitnami website, scroll down and click on the Download for Windows button.
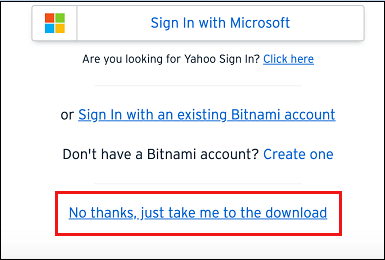
Next click on No thanks, just take me to the download from the ensuing pop-up window
2. Open the Bitnami WordPress Download
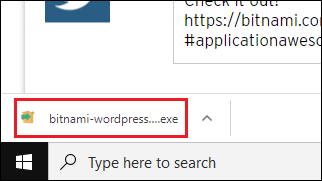
Once the download finishes, click on the download in the web browser to open it (See image below).
3. Setup the Bitnami WordPress Application
You will now need to setup the Bitnami WordPress application.
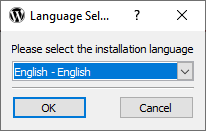
3.1. Select a language and click on Ok.
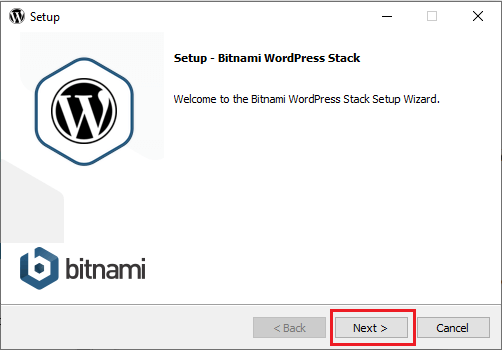
3.2. On the Bitnami WordPress setup screen, click on Next.
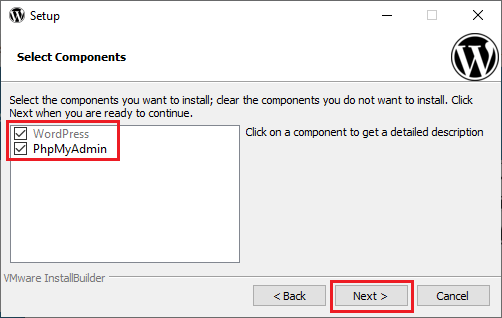
3.3. Now make sure PhpMyAdmin and WordPress are selected and click on Next.
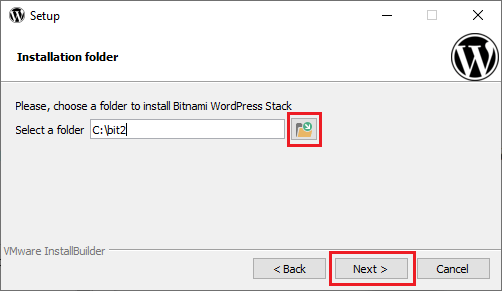
3.4. Choose an installation folder (or leave it at the default installation folder) and click on Next
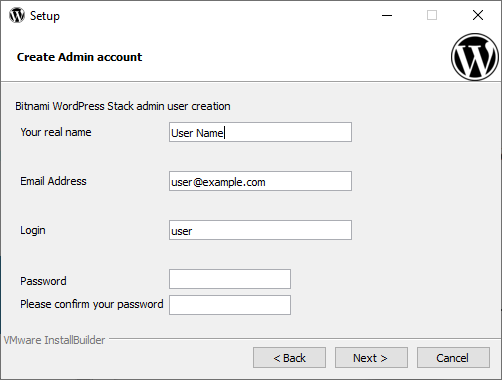
4. Create a WordPress Admin Account
Now you will be asked to create an Admin account for WordPress. Enter in your name, email address, WordPress username and a password. Click on Next after entering in these details.
5. Complete WordPress Installation Process
After creating an admin account for WordPress, you will see a screen asking for a blog name.
Enter in a blog name and then click on Next.
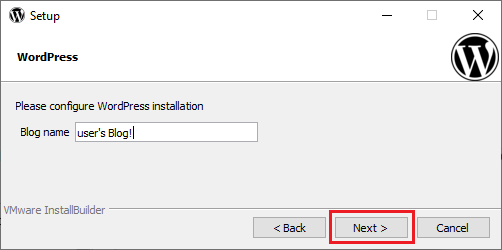
Now click on Next, until you reach the screen in the image below. On the Ready to Install screen, click on Next to begin the WordPress installation.
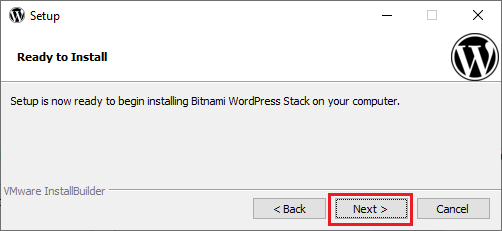
Now the WordPress installation process will begin on your computer.
Click on Finish once WordPress is installed and you will be taken to the following page. (See image below).
The WordPress installation process is now complete.
How to Visit Your Website and Login to WordPress?
From now on to visit your website, you need to type in localhost/wordpress/ in a web browser.
To login to WordPress simply enter in localhost/wordpress/login and then enter in the login credentials you created in step 8 above.